HotSpot WiFi Locations
This article will guide you how to configure different login pages in hotspot locations. It helps you offer free and paid service, different signup methods and to collect customer data like name, email, mobile number
HotSpot WiFi Locations
Configure different login pages in WiFi HotSpot locations
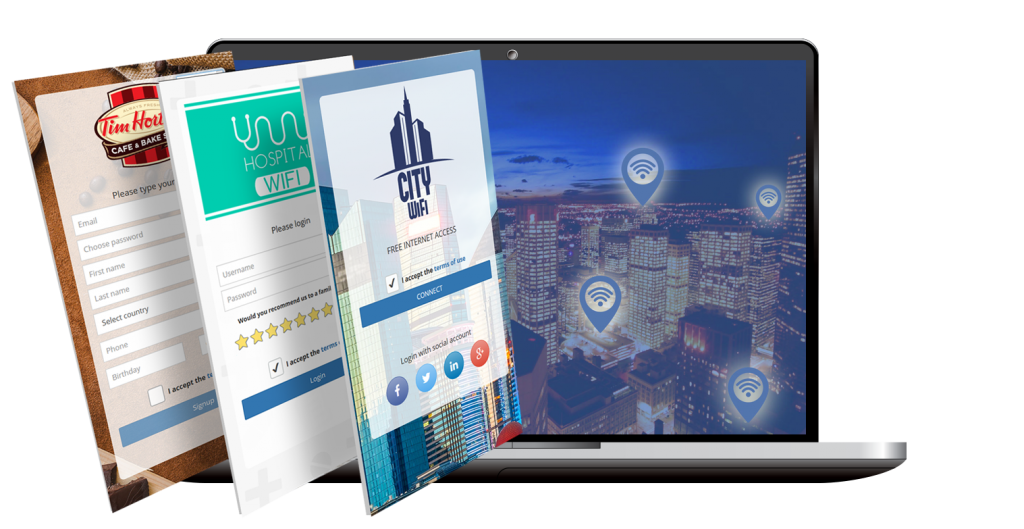
WiFi locations feature helps you configure your Hotspot software to display a different login page in different parts of your network (like shopping malls, virtual ISPs, hotel lobbies, rooms, restaurants, beach bar, etc).
Based on your network IP segments you can assign a different theme, login page and signup method in each location.
Create Virtual ISP
This feature can be used to create Virtual ISP – any person or small business can join your network with an Access Point and act under their own brand (using different page groups like login, welcome, etc) while sharing your infrastructure.
Such Virtual ISP starts a venture with minimal investment, and are motivated to look for a new customers and build a network.
You can share a profit with such partners, in exchange of providing the software solution for control, billing and the Internet access.
The following example will give you an idea how to configure locations in a Hotel.

Hotel’s Hotspot server will be configured to display different type of login pages in the lobby, restaurant and rooms.
In the lobby Hotspot login page should contain only ticket login form.
Restaurant will provide free access with a predefined keyword.
In the rooms guests will get a page with account login form and sign-up link.
Alternatively, it can be switched to PMS Hotel login form, where a guest may authenticate using a room number and a guest name (PMS Interface module is required in this case).
This scenario can be configured with the following steps:
1. Hotspot network needs to be designed using the example network diagram
2. IP range for each access point (location) has to be configured in Hotspot
3. Access point in each location has to be set to act as DHCP server, with IP pool range configured to match the IP range configured for that location in Hotspot.
4. Login page settings should be configured for each location, this is done from HotSpot – Setup – Pages – Default page screen:
– Select the location for which you want to define page rules
– Choose type and subtype of the default page.
– Select Sign Up method
– Configure Theme settings
– Click Save button

After the procedure is completed, users in each location should get a different login page, according to configured settings.
Hotspot locations helps you offer different access methods in your network, gives you more flexibility, marketing opportunities, and stimulates users to spend more on your services.
Try it Free
Technical support to get setup fast and easy.
Learn the powerful management features.
Buy it when you are convinced we are the best.
Buy Your License
No reinstallation. Keep all your configurations.
License is good forever. Free updates until next major release.
Technical support: Email, Phone, Online chat
Our customers