How to Create a Hotspot
This short tutorial explains how to create your own Hotspot by connecting devices, and configure your Cloud WiFi portal account


How to Create a Hotspot
Easy way to setup Hotspot
Creating your own WiFi Hotspot is easier than you might think.
With Antamedia Cloud WiFi, you can quickly connect your network devices, configure your account, and start offering secure Internet access to your guests.
This guide walks you through the setup process step by step.
What You Need
Before you begin, make sure you have:
• A working Internet connection
• A router or access point that supports hotspot configuration
• An active Antamedia Cloud WiFi account (you can start with a free trial)
Step 1: Create Your Cloud WiFi Account
Visit Antamedia Cloud WiFi
Sign up for a free trial or log in if you already have an account
Once inside the dashboard, you’ll find options to add your first hotspot location
Tip: You can create multiple locations (e.g., hotel, café, school) and manage them all from a single account.
Step 2: Add a New Hotspot Location
From your dashboard, go to WiFi Locations / Add New
Enter your location name (for example, Hotel Lobby or Main Café WiFi)
Select your country and time zone
Save the configuration
Your hotspot is now created in the cloud and ready to connect with your router or access point.
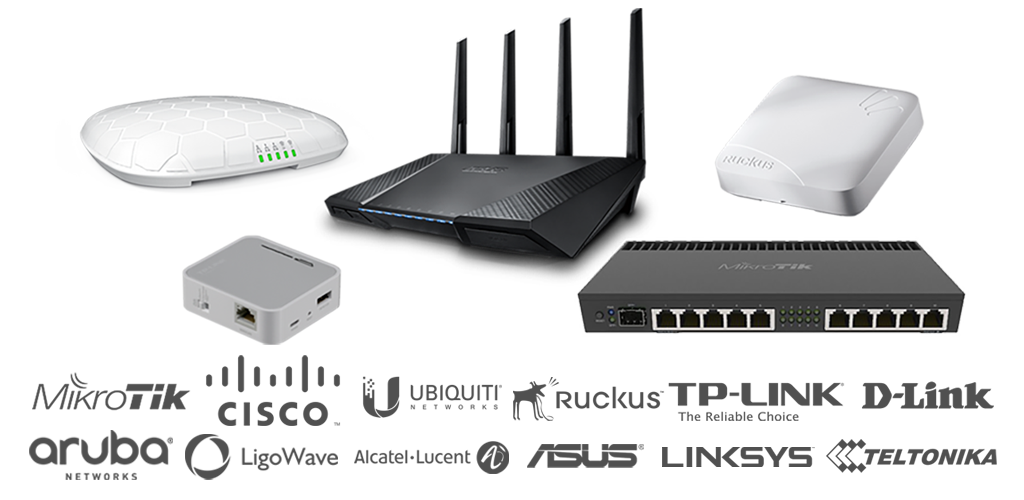
Step 3: Connect Your Router or Access Point
Every hotspot needs a gateway device (router or AP) that redirects guests to the Cloud WiFi portal.
Log in to your router’s web interface
Enable Hotspot / Captive Portal mode
Enter the Cloud WiFi RADIUS settings provided in your account (Authentication IP, Secret, and NAS ID)
Save and reboot your router
Supported vendors, including MikroTik, Ruijie, and Ubiquiti, have ready-made guides available in the Cloud WiFi Help Center.
Signup for a Free trial
Signup for a free 15 day trial and test our cloud platform. Connect your APs, routers & controllers to our Cloud WiFi system and start managing your WiFi from any device.
Our techs are on standby, available to help you setup all features according to your needs, and then leave it for your customization. You can setup how your splash pages will look like, change logo and background, and choose how customers will login.
Cloud solution controls user Internet access, sets limits, processes payments, engages users with wifi advertisements, provides powerful analytics and helps you run different marketing strategies to maximize revenue from your WiFi.

Top Cloud WiFi Features
Step 4: Customize Your Login Page
In the Cloud WiFi dashboard, open Splash Pages
Choose your design template (logo, colors, and background)
Add your preferred login methods:
Free access (click-through or limited time trial)
Social login (Facebook, Google, etc.)
Voucher codes
Paid access with credit cards or PayPal…
Save changes and publish
Your guests will now see your branded login page whenever they connect to the WiFi.
Step 5: Test Your Hotspot
Connect a phone or laptop to your WiFi network
Open a web browser. You should be redirected to your customized Cloud WiFi splash page
Try logging in with your selected method (voucher, social login, etc.)
Check the Cloud WiFi dashboard to confirm that the user appears in the session list
Step 6: Monitor and Grow
Once your hotspot is live, you can:
Track user sessions in real-time
Collect guest data for marketing campaigns
Send automated welcome emails or coupons
Review traffic reports to optimize performance


